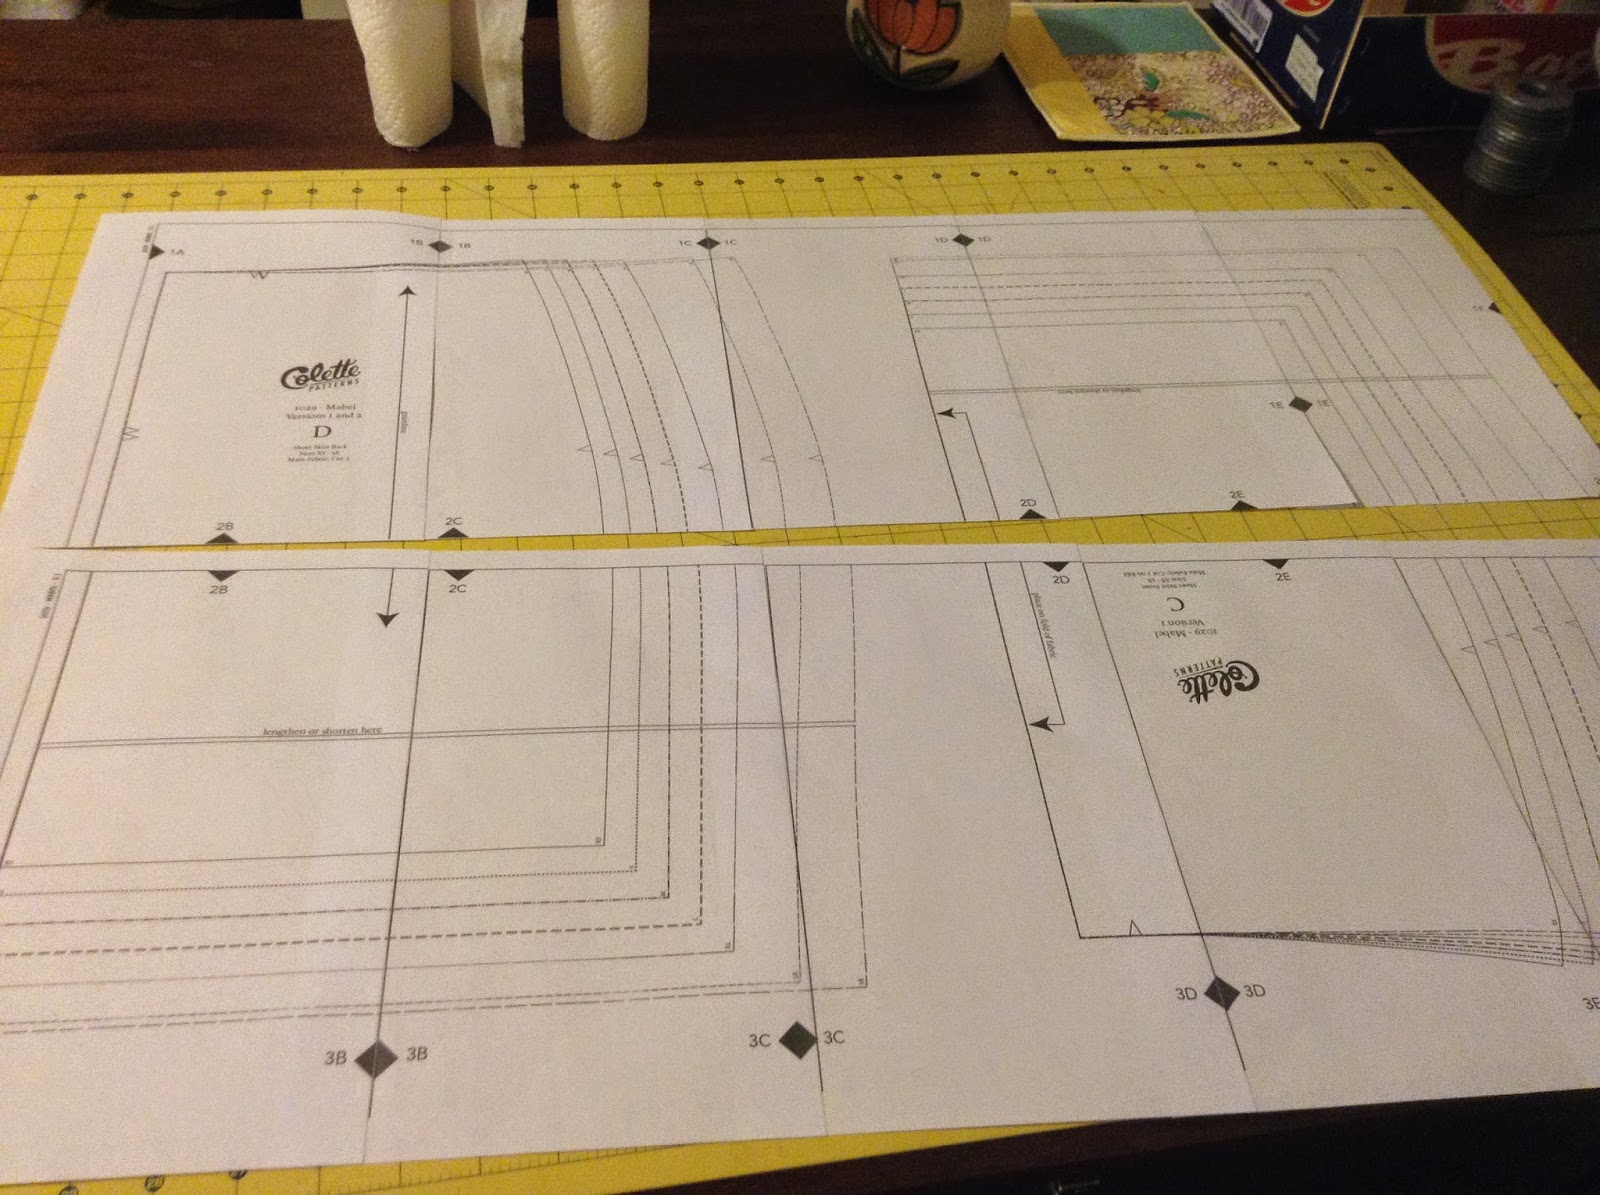
Over the summer I was called away from home on some unpleasant business that took me out of state for five weeks. I knew I didn't want to be without my sewing for that long, so I packed up my trusty vintage Kenmore portable along with a bursting at the sides compact tin box of fabric and notions.
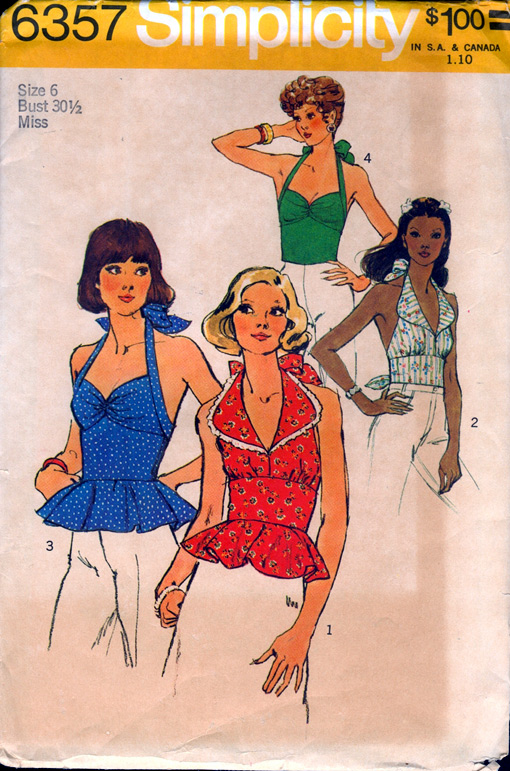
I had already begun Simplicity 1365 ( a reproduction of 6357, which I also own) in a light cotton fabric I picked up.....wait for it...... in the thrift shop. I wanted to attempt to make a halter style that could be worn without a bra, so I made cups out of bamboo batting and sandwiched them between the fashion fabric and my muslin lining.


 The rest of the process was pretty straightforward. There were times when I followed the repro pattern instructions, and parts where I looked back at the vintage pattern instructions, which were less beginner friendly and more dressmaker appropriate. All in all, it makes for a very well finished garment with all seams enclosed in a nice cotton lining. Drat. I should have photographed the inside.
Anyway, I paired the halter up with a simple dirndl skirt made up from what I could eek of the remaining fabric. I love this skirt. It is so comfy and closes only with a pants hook and snaps. Here are a few finished pics.
 After I finished this get up, I promptly went and ate an enormous ice cream in celebration.


Anyway, I paired the halter up with a simple dirndl skirt made up from what I could eek of the remaining fabric. I love this skirt. It is so comfy and closes only with a pants hook and snaps. Here are a few finished pics.
 |
| Halter with high waist vintage 70s jeans, or as my sis calls them, my "mom jeans." |
 |
| the perfect outfit for that insane Florida heat |
A perfect end to a lovely project.
Oh, and just because I am so sososossosososososososososos super excited, can I show you what I bought? Can I pleasepleasepleasepleaseplease?
I LOVE her. How lucky can one gal be? A Wolf form, in my size.... I love her. She was an absolute steal, and I feel so fortunate. Anyone looking for a Singer adjustable????